Effortless Aroma: Unleashing the Magic of Overnight Rest for Amazing Garlic Herb Bread
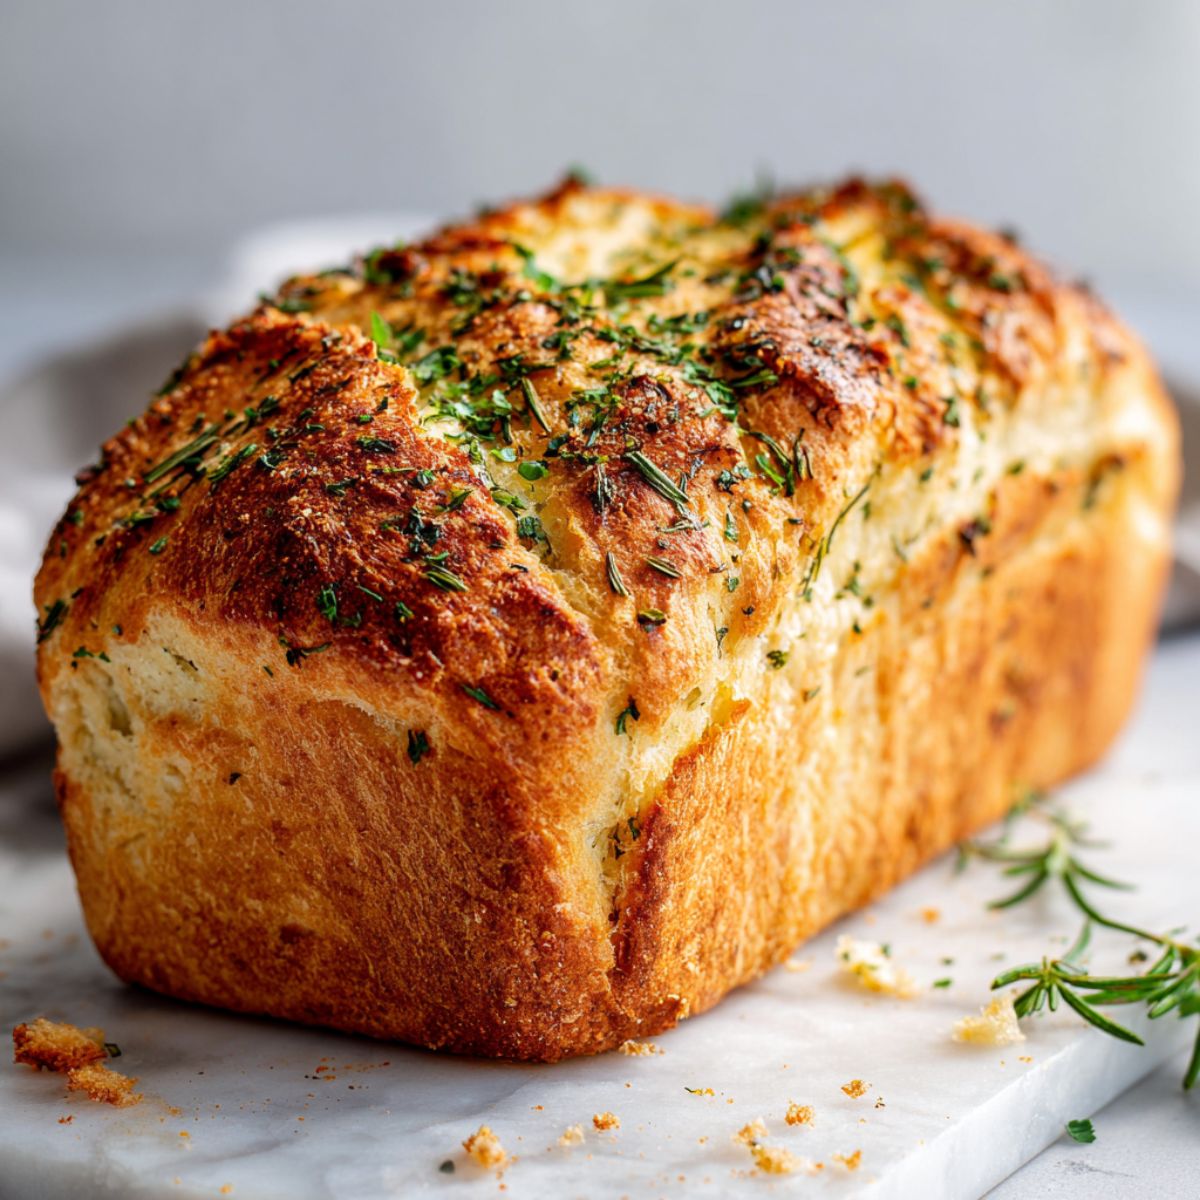
Imagine the warm, inviting scent of freshly baked bread filling your home, its crust golden and crisp, its interior soft and imbued with the pungent allure of garlic and fragrant herbs. This isn't a dream reserved for professional bakers; it's an easily achievable reality with the secret power of an overnight rest. Making truly amazing garlic herb bread doesn't have to be a fuss. In fact, by embracing a simple, no-knead approach and leveraging the magic of time, you can consistently bring bakery-quality results to your kitchen table.
This article delves into how an extended, overnight fermentation transforms basic ingredients into an extraordinary loaf, making it a staple for any home cook looking to elevate their bread game. We'll explore the science, the technique, and even how to adapt this versatile dough into delightful snacks, ensuring every bite of your garlic herb bread is a memorable one.
The Magic of Time: Why Overnight Rest Elevates Your Garlic Herb Bread
The concept of "no-knead" bread might sound counterintuitive to traditional bread making, but it's a revolutionary technique, especially when paired with an overnight rest. This long, slow fermentation period is the true hero behind deeply flavorful and perfectly textured garlic herb bread, doing all the hard work while you sleep.
Flavor Deep Dive: Unleashing the Aromatic Potential
When yeast, flour, and water combine and rest for 12 to 18 hours at room temperature, a remarkable transformation occurs. This extended fermentation allows the yeast to slowly work its magic, breaking down complex starches into simpler sugars. This process isn't just about rising; it's about developing layers of complex flavor that would be impossible to achieve with a quick rise. The subtle, nutty notes from the flour deepen, and the garlic and herbs have ample time to permeate every crevice of the dough, ensuring that their vibrant flavors are truly infused, not just surface-level. This is particularly true for fresh ingredients like minced garlic and chopped rosemary and thyme, which release their essential oils more effectively over time, creating an irresistible aroma that announces its presence long before the first bite. Always opt for fresh herbs here; their bright, earthy notes are simply superior to their dried counterparts in this particular recipe.
Furthermore, the long rest contributes significantly to the bread's structure without requiring strenuous kneading. The gluten strands naturally align and strengthen over time, resulting in a soft, airy crumb dotted with delightful pockets, all encased in a satisfyingly crispy crust.
Mastering the Dutch Oven: Your Secret to Bakery-Quality Crust
While the overnight rest handles the flavor and texture of the crumb, the Dutch oven is your indispensable tool for achieving that coveted, artisanal crust. Baking garlic herb bread in a preheated Dutch oven mimics the environment of a professional baker's steam-injected oven, creating conditions that are otherwise difficult to replicate at home.
The Science of Steam and Heat
Placing your Dutch oven, with its lid, into a hot oven (typically 450°F / 232°C) for at least 30 minutes before baking is crucial. This preheating ensures the pot itself is scorching hot. When the dough is carefully transferred into this superheated vessel, the immediate burst of steam trapped by the lid does two things:
- Prevents the crust from forming too quickly: This allows the dough to expand fully, achieving maximum oven spring and a more open, airy interior.
- Creates a thin, crisp crust: The steam gelatinizes the starches on the surface of the bread, which then dries out and crisps beautifully once the lid is removed for the final stage of baking.
The heavy cast iron also provides incredibly even heat distribution, ensuring your loaf bakes uniformly and develops a consistent golden-brown color. The olive oil added to the dough further contributes a subtle richness and helps achieve that beautiful crust.
Essential Ingredients for Your Aromatic Loaf
To embark on this journey of creating a rustic, aromatic garlic herb bread, you'll need just a few simple pantry staples, elevated by fresh aromatics:
- All-Purpose Flour: The foundation. While any good quality AP flour works, choosing freshly milled if possible can impart even deeper flavors.
- Salt: Essential for flavor balance and controlling yeast activity. Don't skimp, as it enhances the garlic and herbs.
- Instant Yeast: The quiet worker. Its gentle, consistent action is perfect for long fermentation. Active dry yeast can also be used, simply proof it first.
- Warm Water: Hydrates the flour, creating a wet, sticky dough that's key to the no-knead method's success and crumb softness.
- Fresh Garlic (minced): The star of the show. Use fresh cloves for that bright, pungent punch that permeates the entire loaf.
- Fresh Herbs (rosemary and thyme, chopped): These bring fragrant earthiness. Their oils release beautifully during the long rest and baking.
- Olive Oil: Prevents sticking and adds a subtle richness. A good quality extra virgin olive oil enhances the overall aroma.
The beauty of this recipe lies in its simplicity. Whisk the dry ingredients, add the wet, stir until shaggy, cover, and wait. The hard work is done by time, not by you!
Beyond the Loaf: Versatile Ways to Enjoy Your Garlic Herb Creations
While a classic rustic loaf of garlic herb bread is a delight in itself, its incredible flavor profile makes it incredibly versatile. Whether sliced thick for sandwiches, toasted alongside a morning egg, or serving as the perfect accompaniment to a hearty meal, this bread will impress. It truly makes any day feel like a special occasion with its irresistible aroma.
Consider serving warm slices with a drizzle of your best olive oil, or perhaps alongside a rich soup or stew. It's also utterly divine with pasta dishes, acting as the ideal vehicle for soaking up flavorful sauces. This no-fuss bread allows you to bring that restaurant-quality experience right into your home, making it a perfect example of Unlock Bakery-Quality: Easy No-Knead Dutch Oven Garlic Herb Bread.
Crafting Cheesy, Herby, Spicy Twists
If you're looking to transform your basic dough into an even more exciting snack, consider turning it into savory bread twists. This method allows you to amplify the flavors and textures, making for a truly "dunk-alicious" experience. Imagine taking a portion of your beautifully rested dough, rolling it out, and then slathering it with an additional layer of garlic oil, a generous sprinkle of Parmesan cheese, more Italian herbs, and a pinch of spicy red pepper flakes. Fold, cut into strips, twist them into spirals, and bake until golden. A final brush of garlic oil and another dusting of Parmesan after baking will make these "bread sticks on steroids" truly irresistible. These are perfect for kids and adults alike, with all the little nooks and crannies coated in flavor. Serve them with an easy marinara sauce for dipping, and you'll find them to be Twist Up Your Snack Game: Spicy Garlic Herb Parmesan Bread.
Whether you opt for the rustic loaf or the playful twists, the foundation of this amazing flavor comes from the simple yet powerful technique of allowing the dough to rest and develop overnight.
Practical Tips for Perfecting Your Garlic Herb Bread
- Don't Overmix: When combining wet and dry ingredients, simply stir until just combined. A shaggy, sticky dough is exactly what you want for the no-knead method. Overmixing can develop gluten too quickly and negate the benefits of the long rest.
- Room Temperature Matters: The overnight rest should ideally be at a consistent room temperature (around 68-72°F or 20-22°C). Too cold, and the yeast will be sluggish; too warm, and it might overproof.
- Tight Cover: Ensure your bowl is covered tightly with plastic wrap or a clean kitchen towel to prevent the dough from drying out and to maintain a consistent environment for fermentation.
- Careful with the Dutch Oven: A preheated Dutch oven is extremely hot. Use oven mitts and extreme caution when transferring the dough and handling the pot.
- Listen to Your Bread: The bread is done when it's deep golden brown and sounds hollow when tapped on the bottom. An instant-read thermometer should register around 200-210°F (93-99°C) in the center.
- Cool Completely: It's tempting to cut into warm bread, but for the best texture, especially the crumb, let your loaf cool on a wire rack for at least an hour before slicing. This allows the internal structure to set properly.
The journey to creating an amazing, aromatic garlic herb bread is surprisingly straightforward. By embracing the simplicity of no-knead dough and the transformative power of an overnight rest, you unlock deep flavors, a perfect texture, and an irresistible aroma that will make your kitchen the heart of your home. Whether you're a seasoned baker or a curious beginner, this method offers a truly effortless path to a homemade bread experience that rivals any bakery. So, go ahead, give your dough a long, peaceful sleep, and wake up to the promise of culinary delight.
